MacOS Installation
Prerequisites
Enterprise deployments of the AND Browser Plugin requires an Organization UUID (org uuid) for configuration, preferences, and real-time telemetry to be associated with your company. Please contact Hoplite Support to request your Organization UUID.
There may also be a need for the sending of a file in the format of *ORGANIZATION NAME*_Configuration.hoplite along with a hoplite-nm-install.pkg file to the end users from the organization’s security team. This file is intended for organizations that do not utilize an MDM Solution to manage their MacOS devices. If your organization has not been delivered these files and the files are required, please contact Hoplite Support to request your configuration files.
Note
Before proceeding, please contact Hoplite Support to request a download link for the desired configuration profile that is required to manage the AND Browser Plugin. To deploy the custom configuration profile that is setup for the management and customization of the AND Browser Plugin, it is expected that the organization utilizes a Mobile Device Management plan that supports the deployment of managed configuration profiles and applications to the intended devices.
Note
Many of the steps discussed within this document require Local and Domain Admin permissions for installation of software components, please ensure you have adequate permissions, and a clear deployment method in mind. Should you have any questions, please contact Hoplite support for guidance.
Manual Installation
Note
Any of the following manual installation processes should be repeated for all user accounts on a given machine. If you are using a MDM-based installation method for the AND Browser Plugins, please skip to the ‘AND Browser Plugin (MDM) Installation’ section.
Chrome
To manually install the Google Chrome version of the AND Browser Plugin, please perform the following steps:
Open Google Chrome and visit the AND Browser Plugin page in the Google Chrome Web Store here.
Next, click the ‘Add to Chrome’ button in the upper right corner to begin installing the plugin. Then click ‘Add Extension’ button.
Microsoft Edge
To manually install the Microsoft Edge version of the AND Browser Plugin, please perform the following steps:
Open Microsoft Edge and visit the AND Browser Plugin Page in the Edge Add-Ons Marketplace here.
Next, click the ‘Get’ button in the upper right corner, and follow the prompts to complete the installation.
Firefox
To manually install the Firefox version of the AND Browser Plugin, please perform the following steps:
Open Firefox and visit the Firefox Add-Ons Marketplace here.
Next, click the ‘Add to Firefox’ button near the middle of the screen. Then click the ‘Add’ button to complete the installation.
Safari
To manually install the MacOS application onto an Apple desktop or laptop, please perform the following steps:
Click on the link here to open the App Store Page here. Alternatively, open the App Store and Search for Hoplite Browser Security.
Click on the Install button to install the Hoplite Browser Security
Due to Apple security and privacy measures, the browser plugin extension is not automatically activated on installation. To activate the extension, open Safari. Then, under the Safari option at the top of the screen, select Settings (alternatively opened by pressing the ‘Command’ and ‘,’ keys simultaneously).
Select Extensions and then click on the grey box next to Hoplite Browser Security.
Click on the Hoplite Browser Security to open the preference pane.
Under the Permissions section, select Always Allow on Every Website. On the confirmation popup that occurs, select Always Allow on Every Website.
Manual Installation & Configuration of Native Messaging Host Applications
If you intend to manually install a Native Messaging Host Application, please follow the steps below for each browser you intend to use. If you are using a MDM-based installation method, please skip this section. Once installed, the AND Browser Plugins and Native Messaging Host Applications work asynchronously in the background and require no user or administrator interactions.
Download the PKG installer package to the destination machine.
Please close all open web browser windows, then double click on the PKG installer package icon to begin the installation.
You will be prompted to enter Administrator credentials, please enter the Administrator password and click ‘OK’.
Please follow the PKG installer package prompts and accept the default values to complete the installation.
Once the PKG install process is complete, open the Terminal application as an administrator.
Within the Terminal command prompt, execute the installation of the Native Messaging Host Application with the following command:
sudo /Library/Application\ Support/Hoplite/Plugins/Chrome/macos-chrome-nm-host -i <uuid>
sudo /Library/Application\ Support/Hoplite/Plugins/Firefox/macos-firefox-nm-host -i <uuid>
sudo /Library/Application\ Support/Hoplite/Plugins/Edge/macos-edge-nm-host -i <uuid>
Note
Each browser requires a corresponding Native Messaging Host Application to fully enable the respective AND Browser Plugins. This process will need to be repeated for each browser you intend to use.
Configuration Profile Installation (Manual)
Safari
The following instructions are for the Safari browser, if you are trying to configure Non-Safari browsers, please see the instructions below.
Supervised Devices
Note
These instructions assume that the intended device is supervised. To make a MacOS device supervised, an MDM Solution needs to be managing the device. If your device is unsupervised, please follow the Unsupervised Device instructions below.
To manually configure the MacOS application on an Apple desktop or laptop, please perform the following steps:
Click on the delivered configuration file, named *Organization*HopliteBrowserPlugin.mobileconfig where Organization is your organization’s shortened name.
Open System Preferences and Select the Profiles option.
In the top left, select the Hoplite Browser Plugin Safari profile and select Install.
On the pop-up pane, select install.
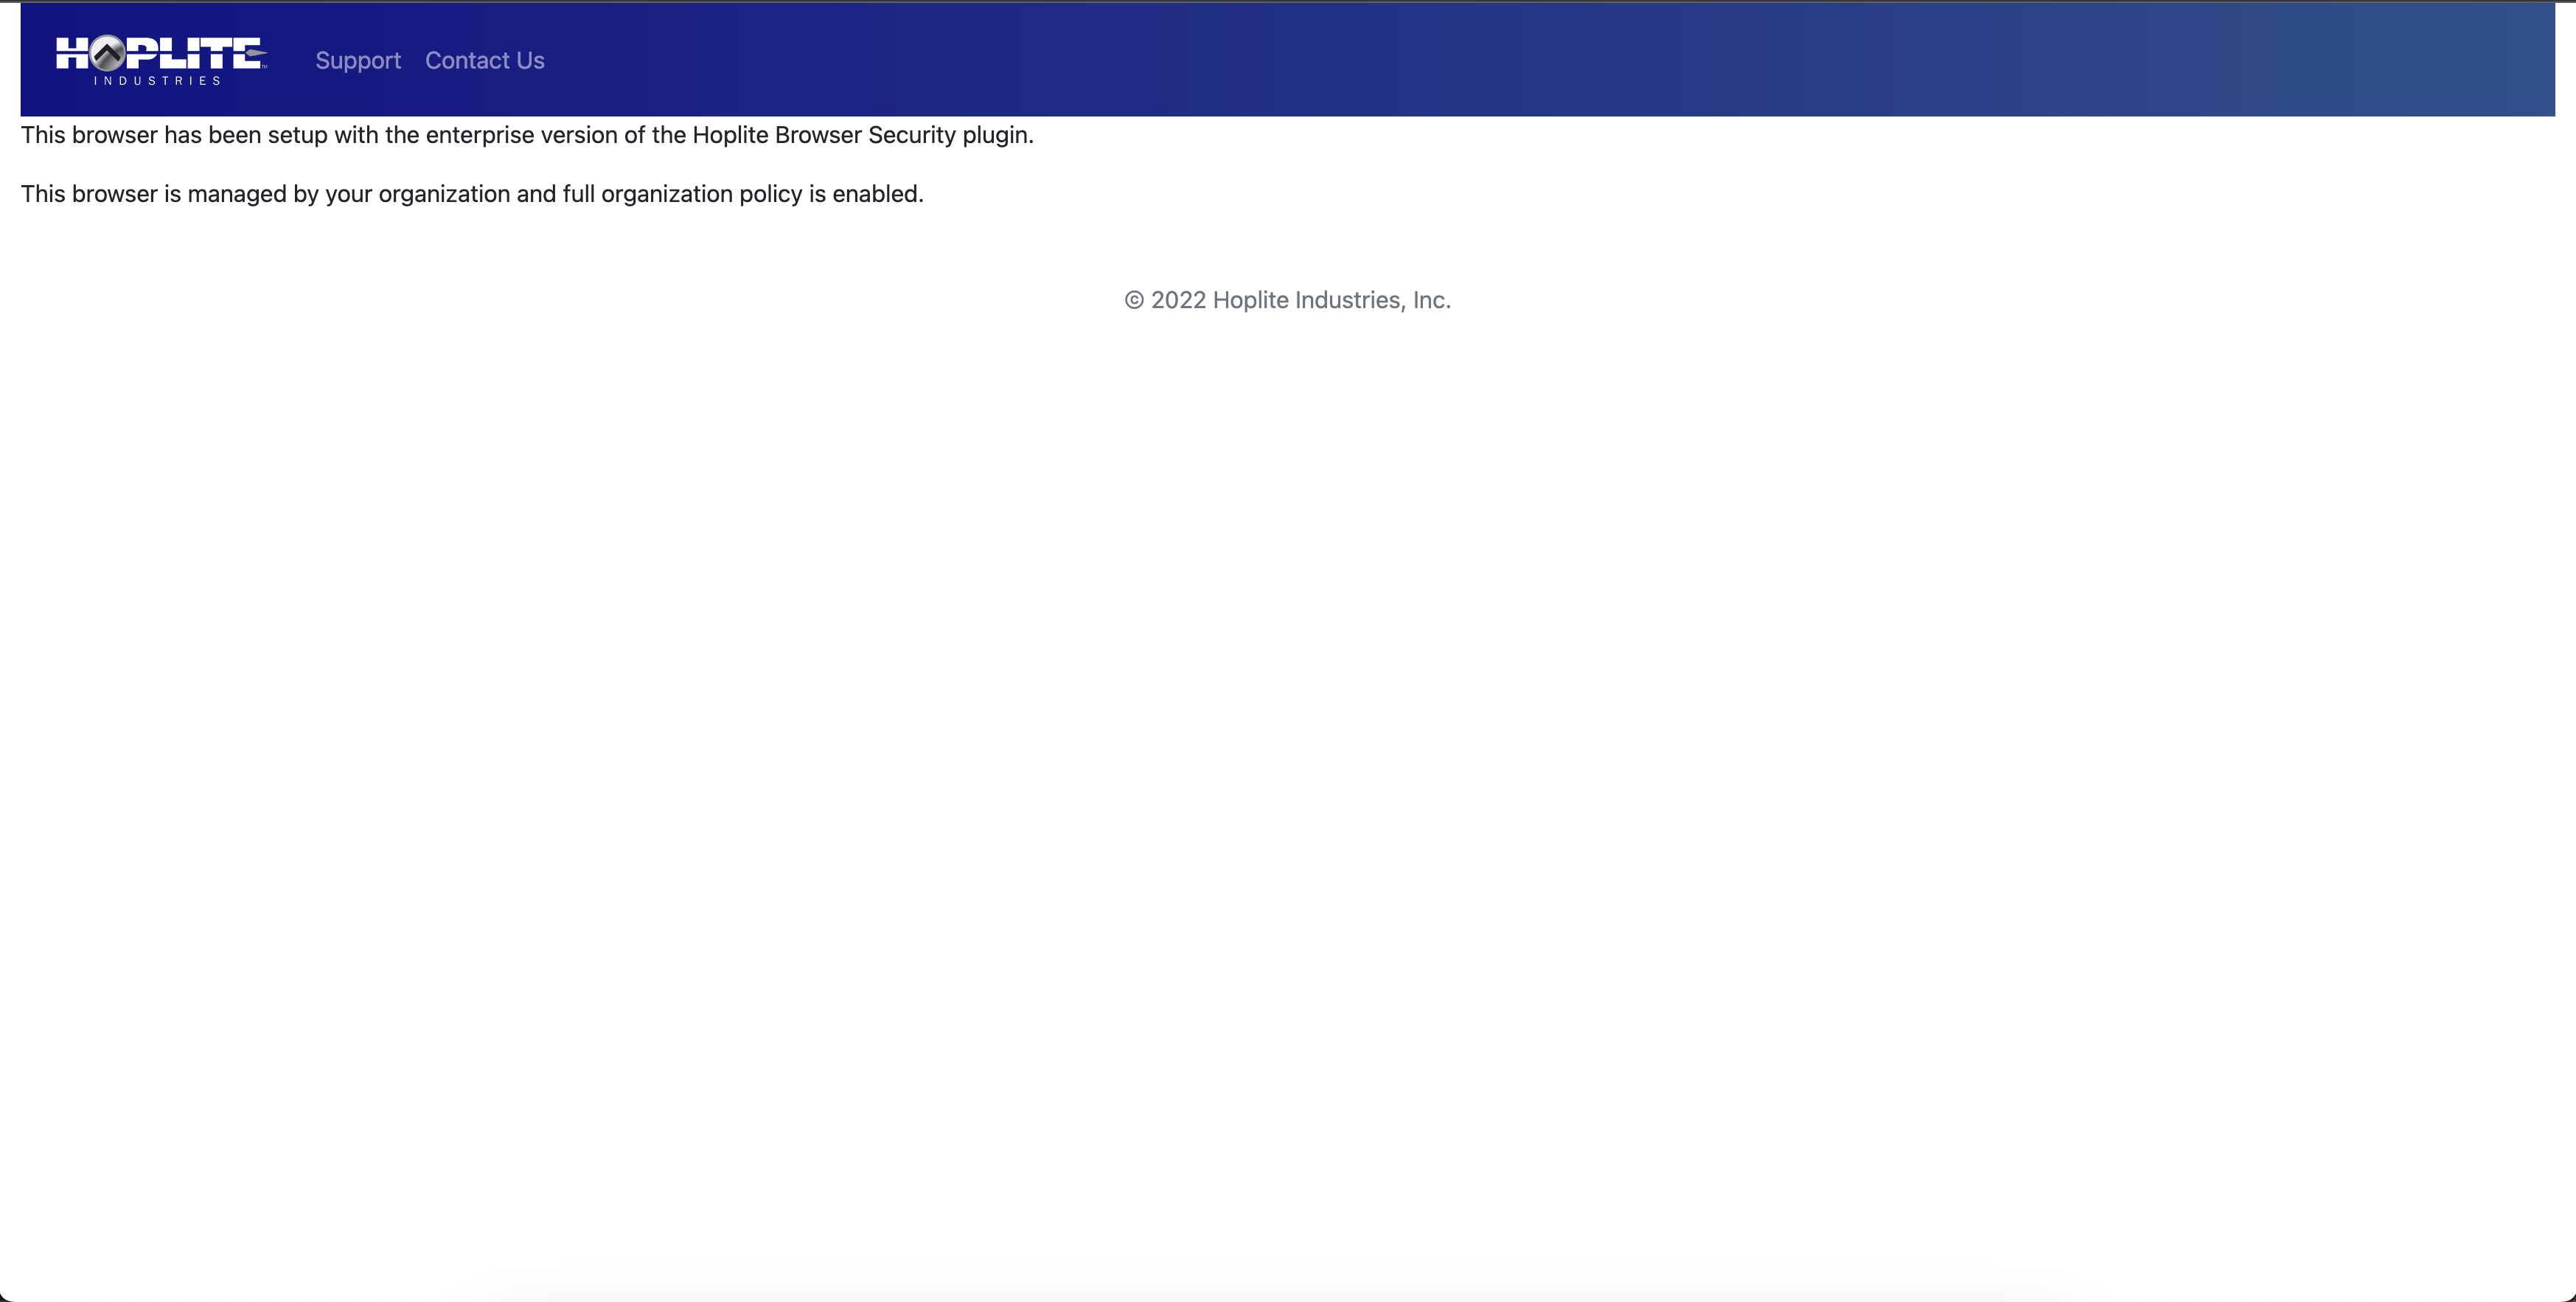
To validate the configuration file was accepted, close and reopen your Hoplite Browser Security application and look for the following text options.
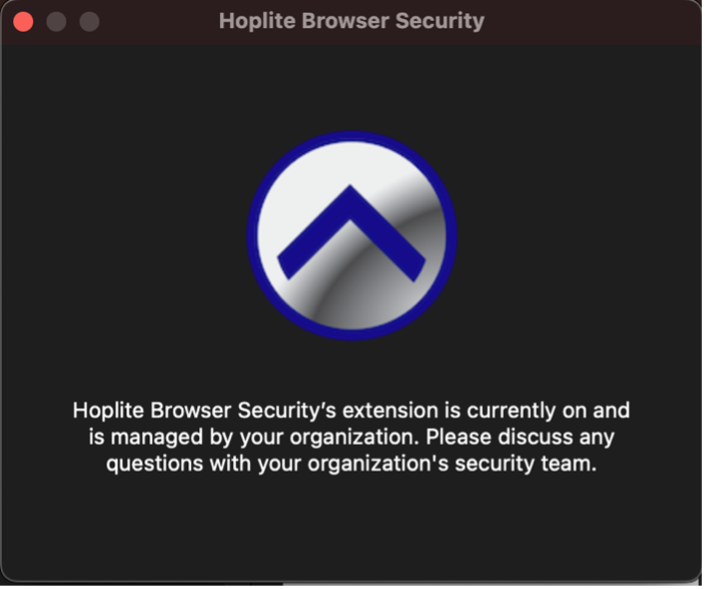
This screenshot shows a fully enabled and activated Hoplite Browser Security Application
Unsupervised Device
Note
These instructions assume that the intended device is unsupervised. If your device is supervised by an MDM solution, please follow the Supervised Device instructions above.
To manually configure the MacOS application on an Apple desktop or laptop, please perform the following steps:
Send the configuration_*Organization*.hoplite file, where Organization is your organization’s shortened name, to the intended device the Hoplite Browser Security application installed. This can be accomplished via airdrop, email, or any other means of delivering and opening the file.
When the file is delivered, when you open the file, choose open with Hoplite Browser Security. By default it should open the Hoplite Browser Security application.
To validate the configuration file was accepted, close and reopen your Hoplite Browser Security application and look for the following text options.
This screenshot shows a fully enabled and activated Hoplite Browser Security Application
Other Browsers
To install the Chrome, Edge, Firefox, or Brave versions of the AND Browser Plugin, please perform the following steps while logged into an account with administrator permissions:
Double click the hoplite-nm-install.pkg file and follow the installation instructions.
When the System Settings Profiles page is opened, click on the Hoplite Browser Security profile on the top.
Select Install…
The following steps are recommended if you are installing on a device that belongs to the organization and is expected to have many users utilizing the device during its lifespan. This installation will deploy configurations for all users and browsers installed. Please perform the following steps:
Open Terminal on an account with administrator permissions
Execute the following command: sudo /Library/Application\ Support/Hoplite/hoplite-nm-host -i {OrgUUID}. The OrgUUID can be extracted from the supplied .hoplite file for your organization.
The following steps are recommended if you are installing on a device that belongs to a single employee and the device is expected to leave the company when said employee leaves. Please follow the following steps for each browser:
Chromium Based (Chrome, Edge, Brave)
Open the browser and click on the puzzle piece icon in the top right corner.
Click on the triple dots and select Options.
Drag the .hoplite configuration file into the designated square shown below.
Firefox
Open the browser, right click the Hoplite Browser Security Icon, and select Manage Extension.
Click on the triple dots and select Preferences.
Drag the .hoplite configuration file into the designated square shown below.

Unconfigured Hoplite AND Browser Plugin for Non-Safari Browsers
Configured Hoplite AND Browser Plugin for Non-Safari Browsers
AND Browser Plugin Installation (MDM)
Using Mobile Device Management (MDM) is an effective way to deploy specific browsers, policies, and extensions to hundreds or thousands of machines quickly. Hoplite has created a series of configuration profiles to force the installation of the AND Browser Plugin for browsers. We strongly recommend performing pre-deployment testing to ensure MDM-based installation methods work as intended before deploying to production systems.
Chrome
Upload the ChromeHopliteBrowserPlugin.mobileconfig file into your MDM solution where your MDM solution accepts custom settings.
Note
Due to browser requirements, the AND Browser Plugins must be deployed on a per-user basis. Please be sure to associate all users in your organization who need the plugin with this MDM action.
Firefox
Upload the FirefoxHopliteBrowserPlugin.mobileconfig file into your MDM solution where your MDM solution accepts custom settings.
Note
Due to browser requirements, the AND Browser Plugins must be deployed on a per-user basis. Please be sure to associate all users in your organization who need the plugin with this MDM action.
Microsoft Edge
Upload the EdgeHopliteBrowserPlugin.mobileconfig file into your MDM solution where your MDM solution accepts custom settings.
Note
Due to browser requirements, the AND Browser Plugins must be deployed on a per-user basis. Please be sure to associate all users in your organization who need the plugin with this MDM action.
Safari
The following instructions assume that a Hoplite Mobileconfig file has been delivered for MDM based device installation. If your organization has not been delivered a <Organization>HopliteBrowserSecurity.mobileconfig file, please contact Hoplite Support here to request your Hoplite Mobileconfig file or guidance on manually submitting the data for your MDM Solution.
To install via MDM, you will search and select the ‘Hoplite Browser Security’ application from the App Store Catalog. To install the configuration profile, upload the configuration profile into a MacOS policy. Due to Apple security and privacy measures, the browser plugin extension is not automatically activated on installation. To Hoplite’s knowledge, there is no way to automatically enforce the activation of a safari extension automatically through an MDM profile.
For each MacOS device, the following steps are required to activate the Hoplite Browser Security Safari extension.
To activate the extension, open Safari. Then, under the Safari option at the top of the screen, select Preferences (alternatively opened by pressing the ‘Command’ and ‘,’ keys simultaneously).
Select Extensions and then click on the grey box next to Hoplite Browser Security.
Click on the Hoplite Browser Security to open the preference pane.
Under the Permissions pane, select Always Allow on Every Website. On the confirmation popup that occurs, select Always Allow on Every Website.
MDM-Based Configuration of Native Messaging Host Applications
To activate enterprise capabilities, the native messaging host needs to be installed and configured to your organization. Hoplite has developed a series of installers that will perform this action for you. To install the Native Messaging Host Application, please follow the instructions below.
Chrome
Upload the macos-hoplite-chrome-nm-install.pkg file into your MDM solution. Add the custom command below to be executed after installation either directly in the MDM solution alongside the application or in a custom bash script to be run as an administrator.
sudo /Library/Application\ Support/Hoplite/Plugins/Chrome/macos-chrome-nm-host -i <uuid>
Note
Due to browser requirements, the AND Browser Plugins must be deployed on a per-user basis. Please be sure to associate all users in your organization who need the plugin with this MDM action.
Firefox
Upload the macos-hoplite-firefox-nm-install.pkg file into your MDM solution. Add the custom command below to be executed after installation either directly in the MDM solution alongside the application or in a custom bash script to be run as an administrator.
sudo /Library/Application\ Support/Hoplite/Plugins/Firefox/macos-firefox-nm-host -i <uuid>
Note
Due to browser requirements, the AND Browser Plugins must be deployed on a per-user basis. Please be sure to associate all users in your organization who need the plugin with this MDM action.
Microsoft Edge
Upload the macos-hoplite-edge-nm-install.pkg file into your MDM solution. Add the custom command below to be executed after installation either directly in the MDM solution alongside the application or in a custom bash script to be run as an administrator.
sudo /Library/Application\ Support/Hoplite/Plugins/Edge/macos-edge-nm-host -i <uuid>
Note
Due to browser requirements, the AND Browser Plugins must be deployed on a per-user basis. Please be sure to associate all users in your organization who need the plugin with this MDM action.
AND Browser Plugin Uninstall
To uninstall the Non-Safari versions Hoplite AND Browser Plugin, remove the forced installation profile. Please complete the following instructions to uninstall the Hoplite AND Browser Plugin forced installation profile:
Open System Settings
Under the Security and Privacy Tab, select the Profiles Tab.
Click once on the Hoplite Browser Security Preference to select it.
Click on the minus button at the bottom of the table.
To uninstall the Safari version of the Hoplite AND Browser Plugin, remove the Hoplite Browser Security application.
To remove the Native Messaging Application for the Hoplite AND Browser Plugin, complete the following instructions to uninstall the Hoplite AND Browser Plugin Native Messaging Application:
To uninstall the management components, open the Terminal Application.
Copy and paste the following command: sudo /Library/Application\ Support/Hoplite/uninstall.sh
Type in your administrator password